6 Food Photography Tips for Travelers: Capture Local Dishes Like a Pro

Food photography tips matter most when the food in front of you smells so good you almost forget to take the photo. That happens a lot in New Orleans. A bowl of gumbo arrives, and someone at the table says, “You have to try this.” And suddenly the camera is an afterthought.
But travelers still want the photo. Not the stiff, over-edited kind. Just the kind that brings the memory back later. The smell, chatter, and the moment before the first bite.
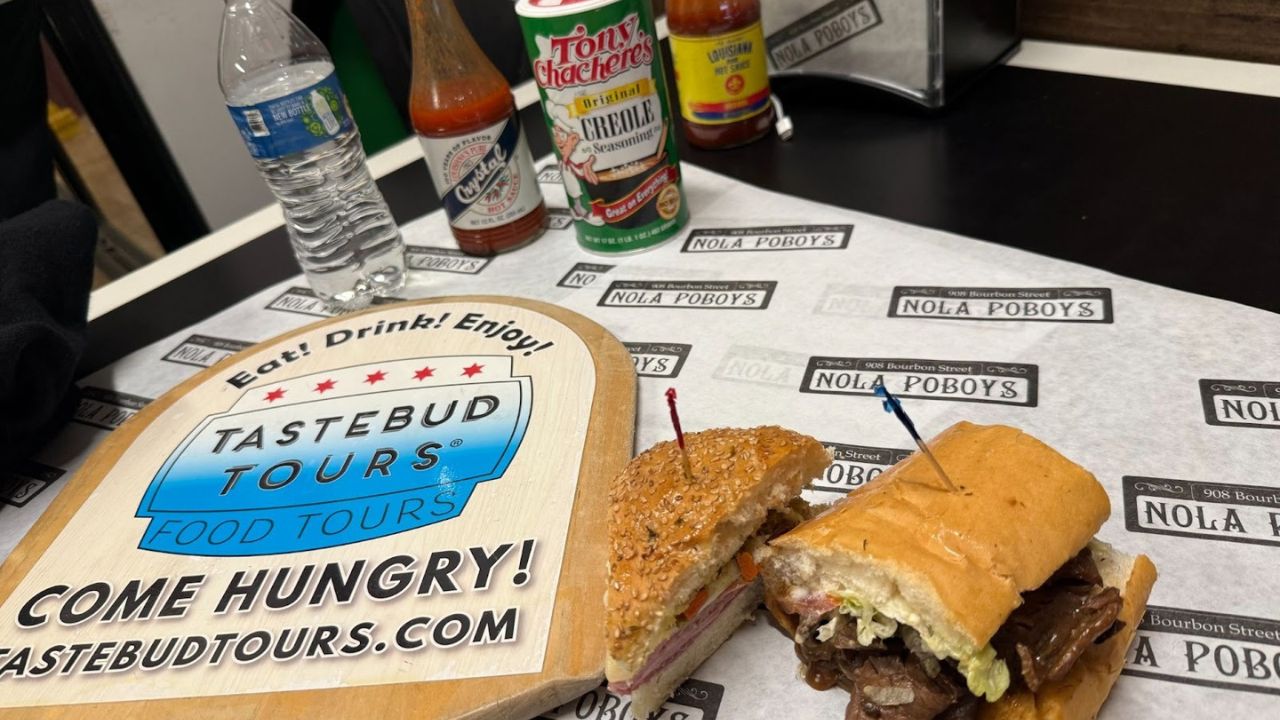
Anyone wandering through New Orleans for the food will probably end up joining a guided food tour at some point. The city almost demands it. A lot of visitors discover the local spots through the walking tours run by Tastebud Tours, where a guide leads small groups through the best restaurants and bakeries. Plates appear, stories follow, and cameras come out.
And that is usually when the question pops up:
How do you grab a great photo of food without turning the whole meal into a photo shoot?
It turns out the answer is simpler than expected. Let’s explore the 6 food photography tips for beginners.
1. Food Photography Tips Start With One Simple Habit
The easiest food photography tips start before the food even arrives – Clean the camera lens.
It sounds obvious, but most travelers forget. Phones live in pockets or bags, and sometimes on sticky café tables. A quick wipe with a sleeve suddenly makes colors brighter and details sharper.
Then there is another small trick: Turn off the flash.
Restaurant lighting already has its own mood. Flash tends to flatten everything. Gumbo turns grey, and fried shrimp looks pale. The whole dish loses personality.
Natural light does the opposite. It brings food back to life.
So when the server places the dish down, a small instinct helps. Look for the nearest window. Or even just turn the plate slightly toward the light.
That alone fixes half the photo problems people run into.
2. Food Photography Tips for Beginners Happen in Seconds
Many travelers worry they will hold up the group while taking pictures. That seldom happens.
Guided food tours move at a relaxed pace, especially the ones run by Tastebud Tours. The guide tells stories about the neighborhood. Everyone leans in when the dish arrives.
There is always a small pause before someone takes the first bite. That pause is the moment.
A quick routine helps:
- Frame the plate
- Tap the screen to focus
- Take two quick shots
Three seconds, maybe four.
Most of the time, the first photo works perfectly anyway.
Those learning food photography tips for beginners usually realize something funny after a few stops on a tour. The more relaxed they are, the better the photos turn out.
3. The Angle That Almost Always Works
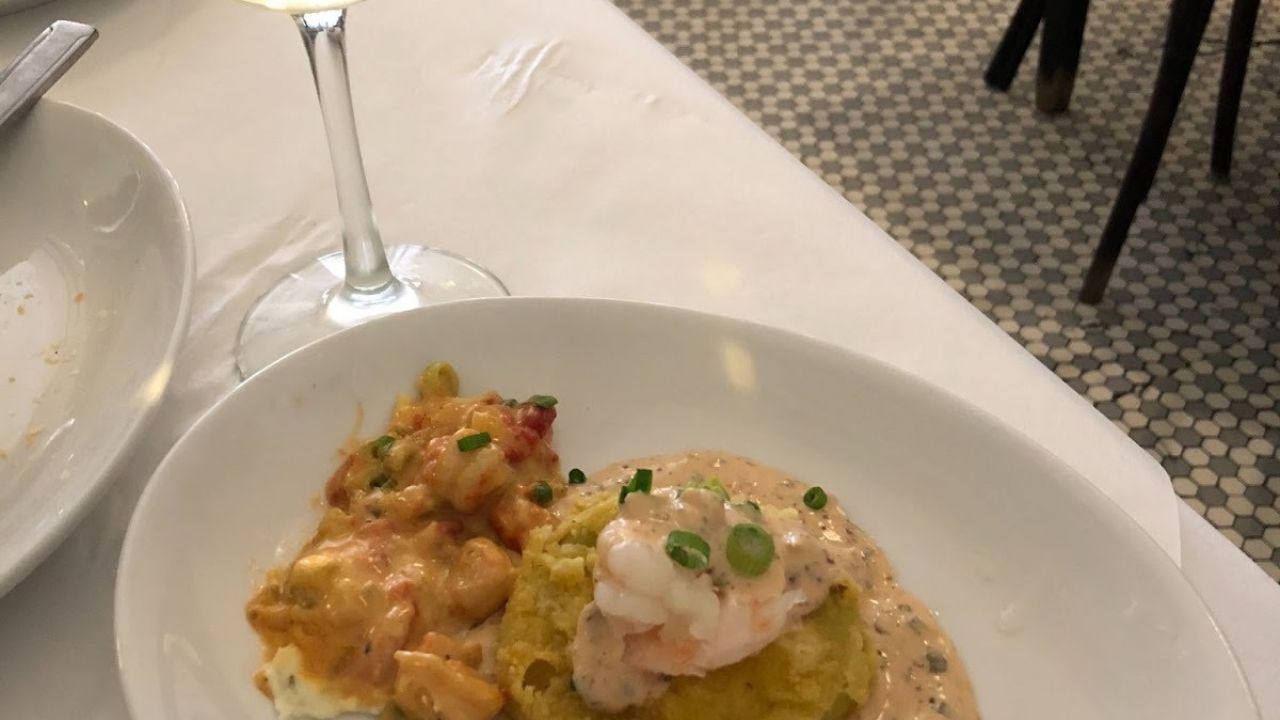
Camera angles can get complicated if you read too many photography guides. But standing in a lively New Orleans restaurant, juggling a plate of crawfish étouffée, no one wants complicated.
The safest angle is simple:
Hold the camera slightly above the plate. About the way someone sitting across the table would see it. Not straight overhead, or perfectly flat, just natural. This angle shows the shape of the dish, like the textures and layers of food.
Sometimes overhead shots work too. Especially when the plate is colorful. And New Orleans food can be extremely colorful with dishes like red crawfish, golden fried seafood, green herbs, and powdered sugar dusting everything in sight.
A quick shift of the camera often reveals which angle tells the story best.
4. Food Photography Tips That Capture the Moment, Not Just the Dish
A plate by itself is nice. But the surroundings matter.
In New Orleans, the city has personality in every corner. Neon lights glowing over bars, old brick walls, and narrow streets buzzing with music. Those little details bring photos to life.
On guided food tours by Tastebud Tours, the stops often include restaurants travelers would never find alone. Small places, historic ones, or family-run kitchens where recipes have lived for decades.
Sometimes the best photo is not just the dish. Maybe it is the plate sitting beside an old wooden bar. Or a server sprinkling powdered sugar onto beignets. Or a guide telling the story of a restaurant while everyone leans closer to listen.
Food photos become better when they include pieces of the place.
5. Color Makes the Photo Pop
Food photography loves color. And New Orleans cooking provides plenty of it. But phones can sometimes dull those colors if the lighting is wrong.
A few quick adjustments help.
- Turn the plate slightly toward the light
- Avoid heavy filters
- Let colorful ingredients face the camera
That last one matters more than people think.
If herbs, shrimp, or sauce are hidden behind the rest of the dish, the photo loses impact. A small nudge of the plate can fix it instantly. It feels a little silly sometimes to turn a sandwich half an inch for a photo. But suddenly the picture looks ten times better.
6. Texture Makes People Hungry
Ever notice how some food photos make people instantly hungry? Usually, it is texture.
A trick that works well for travelers practising food photography tips is moving the camera slightly closer to the most detailed part of the dish.
Fried shrimp, a scoop of rice soaked in gumbo, or powdered sugar on a fresh beignet. Light hitting those textures makes the photo almost feel edible. Which, oddly enough, is the entire goal.
Do Travelers Really Need a Fancy Camera?
This question comes up all the time. Standing on a street corner between food stops, someone inevitably asks.
“Should I have brought my big camera?”
The honest answer is no. Smartphones today are surprisingly powerful. Many travel bloggers rely on them completely. They are quick, easy, and always ready. And on a moving food tour, convenience matters more than perfect settings.
Imagine the hassle of juggling a camera bag while walking through the French Quarter between tasting stops. Phones slide out of my pocket. Snap the photo, and go back in the pocket. Which is much easier!
Food Photography Tips During a Food Tour
Food tours create a unique photography opportunity. Instead of one meal, travelers photograph several dishes in one afternoon. Each restaurant brings something different.
A traveler could easily capture:
- A wide shot of the restaurant interior
- A close-up of the dish
- The guide explaining the dish’s history
- Friends reacting to the first bite
Those layers tell a much better story than a single food photo.
Guided tasting routes organized by Tastebud Tours often mix classic restaurants with hidden local spots. That variety naturally adds personality to the photos.
One moment might involve photographing a famous po’boy sandwich. The next moment might involve a tiny bakery window dusted with powdered sugar.
Each stop feels different. Each photo looks different.